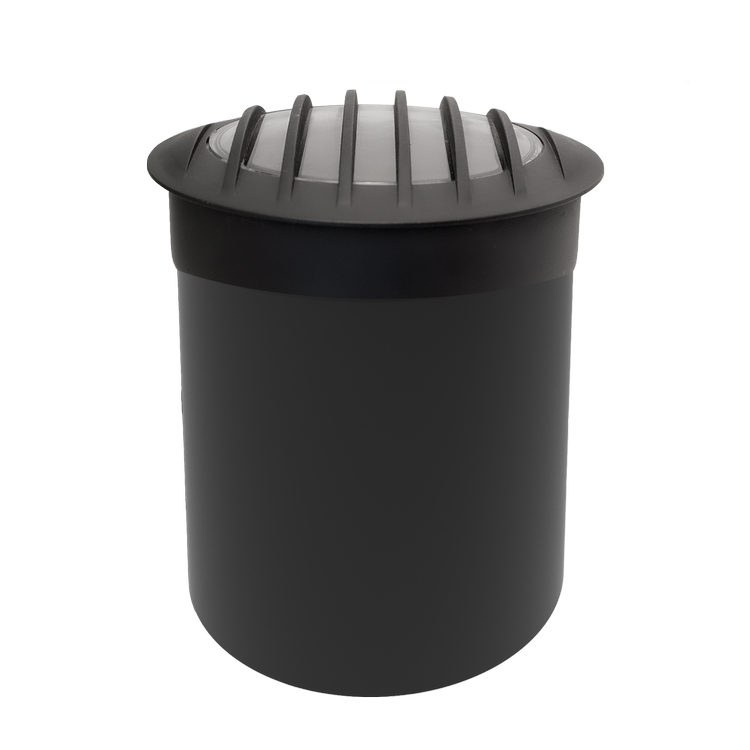
Brilliance - Black Diamond PAR36 Well Light w Flat Grate (No Lamp) - BD-WL-PAR36-FLAT-GR-NL
Brilliance - Black Diamond PAR36 Well Light w Flat Grate (No Lamp) - BD-WL-PAR36-FLAT-GR-NL is backordered and will ship as soon as it is back in stock.
Delivery and Shipping
Delivery and Shipping
Add some general information about your delivery and shipping policies.
Black Diamond PAR36 Well Light with Flat Grate - Lamp NOT INCLUDED (Sold Separately)
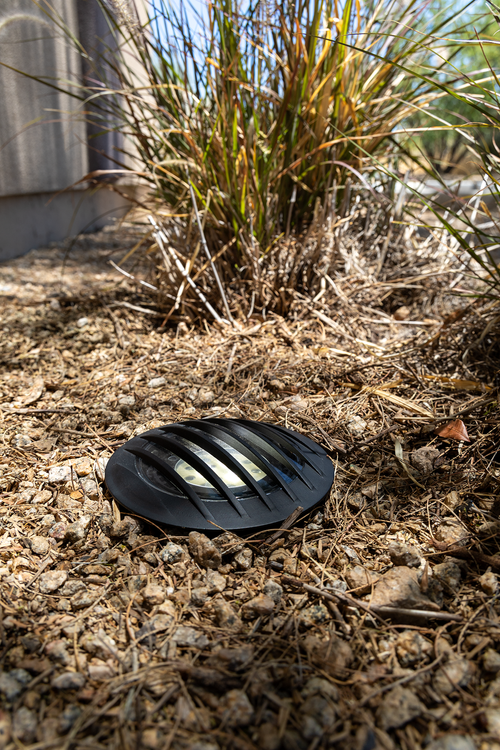
This Black Diamond PAR36 Well Light comes with a glass top that is flat and covered with a grate. Comes in a black brass baked enamel finish. This fixture does not include a PAR36 Lamp, it must be purchased separately. This well light is fitted for any PAR36 lamp and really comes to life with the Chameleon PAR36 for RGBW (color) applications.
SPECIFICATIONS:
- Use: Well Lighting & Underground Up Lighting
- Finish: Top: Black Brass Baked Enamel / Body: Composite
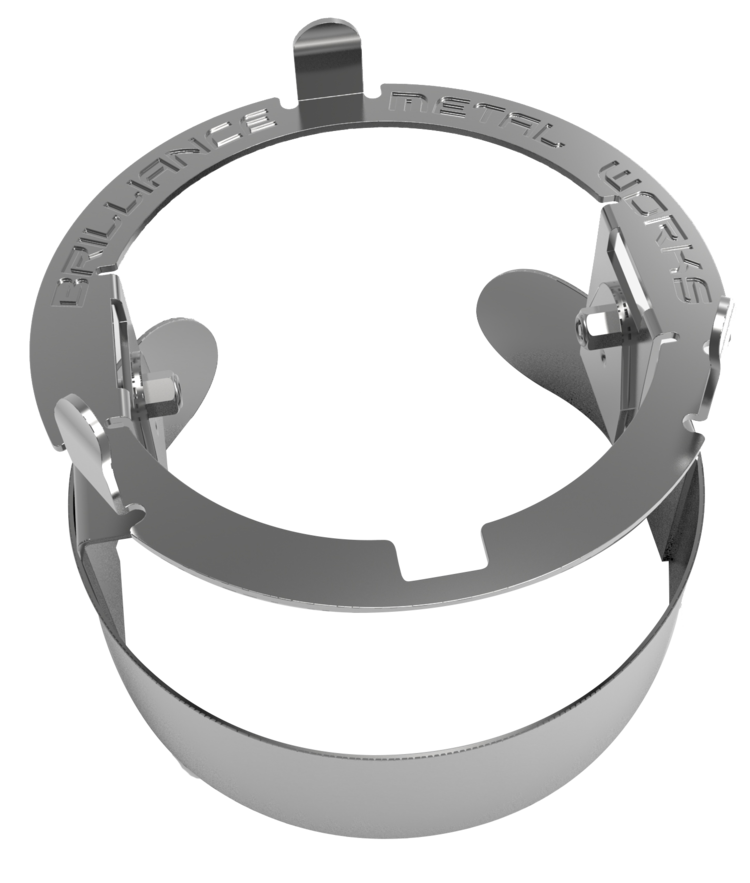
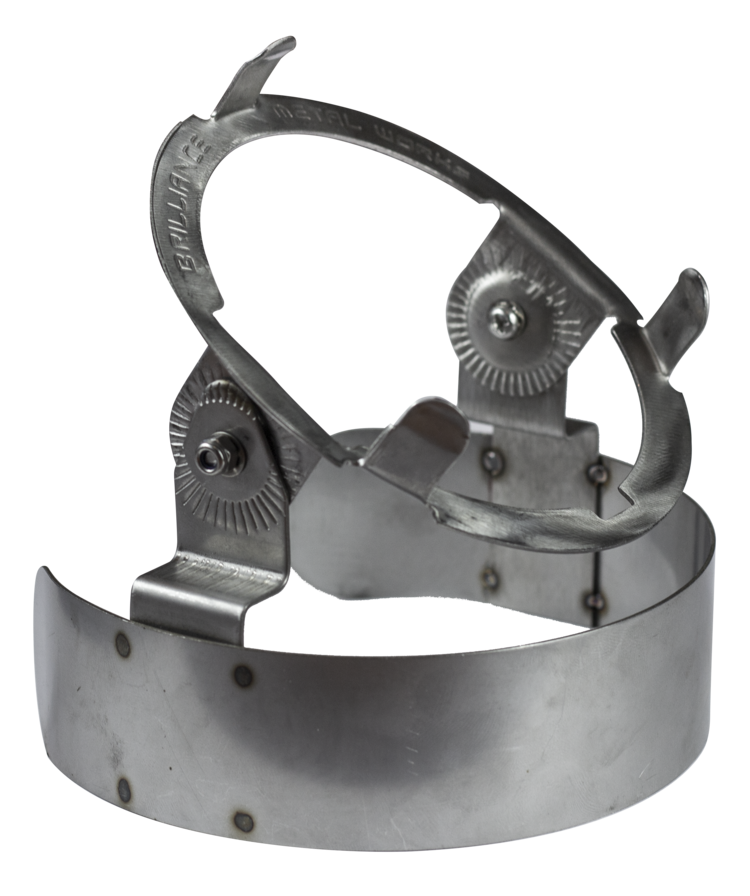
- Includes: Heavy-Duty Stainless Steel Adjustable Gimbal
- Warranty: 10 Year
- PAR36 Lamp NOT INCLUDED
- To clean the fixture, periodically wipe it down with a mild soap and water
INSTALLATION
INSTALLING THE LAMP
- Loosen the thumbscrew on the lens cap and remove the lens cap and the stainless steel gimbal from inside the Black Diamond PAR36 Well Light.
- Install the lamp and snap it into the gimbal.
- Return the gimbal to the well light.
- Place the lens cap and tighten the thumbscrew to protect from debris.
INSTALLING THE FIXTURE
- Dig a hole in the ground approximately 12” wide by 14” deep.
- Connect the power cable to the fixture, leaving 2 feet of wire coiled in the bottom of the fixture for future service.
- Pour 8” of pea gravel in the hole.
- Place the fixture in the center of the hole.
- Add more pea gravel to fill the hole 1” before the fixture lip. This allows for proper drainage around the fixture.
- Place the specified lens assembly on the top of the fixture and tighten the set screw. Use the specified lens in all applications to protect from debris.
- Apply glass wax on top of the lens to protect against standing water.
Product Downloads:
-
Box QuantityN/A
answerbase qa widget
Payment & Security
Payment methods
Your payment information is processed securely. We do not store credit card details nor have access to your credit card information.


